How to Clean Ice Maker in Fridge Door
This post contains affiliate links. As an Amazon Associate, we earn from qualifying purchases.
That first sip of lemonade ruined by foul-tasting ice cubes isn’t just annoying—it’s a red flag your fridge door ice maker needs immediate attention. When ice develops a cloudy appearance or carries the ghost of last night’s leftovers, mineral deposits and mold are silently contaminating every cube. Ignoring these warning signs means serving your family bacteria-laden ice while accelerating appliance failure. This step-by-step guide delivers the exact method to restore crystal-clear ice production in any brand’s door-mounted ice maker—no professional required.
Most homeowners wait until ice production halts completely before tackling this critical maintenance. By then, hard water minerals have caked onto freezing coils, and mold colonies thrive in hidden crevices. Regular cleaning every six months prevents these emergencies while extending your appliance’s lifespan. Follow these verified procedures to eliminate odors, boost ice production, and ensure every cube enhances rather than ruins your beverages.
Cloudy Ice Cubes Signal Mineral Buildup Crisis
Gray discoloration means minerals are poisoning your ice supply. Hard water deposits accumulate on freezing coils, preventing proper ice formation while leaching contaminants into every cube. If your ice looks like dirty snow rather than clear glass, mineral buildup has reached critical levels requiring immediate intervention—delaying risks complete system failure.
Reduced output warns of imminent ice maker collapse. When production drops by 25% or more, mineral deposits are insulating the freezing mechanism. This isn’t just inconvenient; it forces your compressor to overwork, increasing energy bills by up to 15%. Address this symptom within 48 hours to avoid costly repairs.
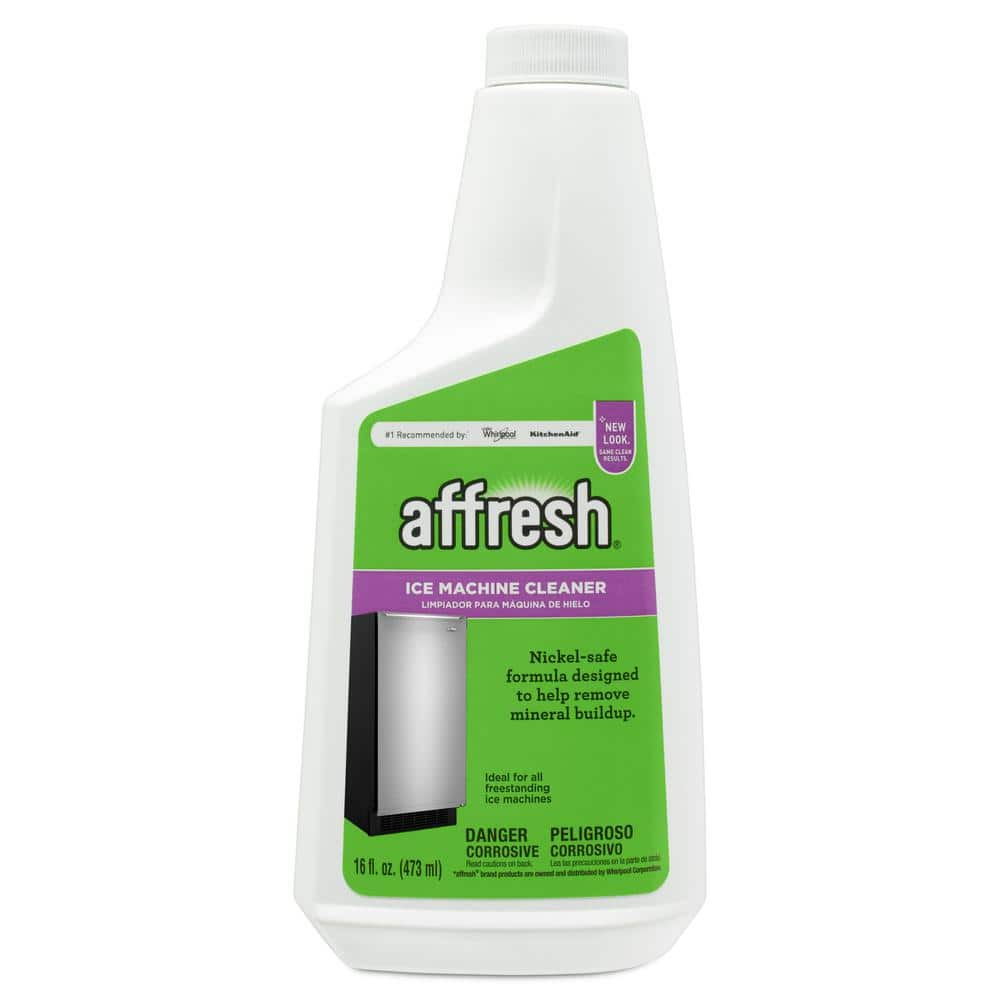
Why Vinegar Beats Commercial Cleaners for Mineral Removal
White vinegar’s acetic acid dissolves mineral deposits without damaging components. Mix equal parts vinegar and warm water for a natural solution that outperforms harsh chemicals. Commercial cleaners like Affresh® Ice Machine Cleaner work well for Whirlpool® and Maytag® models but often fail against severe hard water buildup where vinegar shines.
Essential Supplies for Door-Mounted Ice Makers
Must-Have Cleaning Solutions
- White vinegar: 1:1 water ratio for mineral dissolution (3 cups minimum)
- Mild dish soap: For safe bin washing (never use bleach on components)
- Bleach solution: ½ cup per gallon for disinfection only after vinegar treatment
- Affresh® Ice Machine Cleaner: Specific to Whirlpool®/Maytag® models
Critical Tools You Already Own
- Old toothbrush: Scrubs dispenser chutes without scratching
- Small funnel: Directs solutions into narrow water lines
- Two dish cloths: One for cleaning, one for immediate drying
- Bucket: Catches drainage during water line flushing
Never use abrasive pads—these scratch surfaces where bacteria hide.
Power Down and Water Shut-Off Protocol
Turn off ice maker at three critical points. First, flip the digital control button or toggle switch to “Off.” Second, raise the metal sensing arm fully into the “up” position. Third, disconnect refrigerator power at the wall outlet—this prevents accidental activation during cleaning that could damage gears.
Isolate water supply behind the fridge. Locate the shutoff valve (usually under the sink or behind the appliance) and turn it clockwise until tight. Test by dispensing water—no flow confirms successful isolation. Skipping this risks flooding your kitchen during line disconnection.
Empty freezer contents immediately. Transfer all frozen items to coolers with ice packs. While cleaning takes only 15 minutes, prolonged freezer exposure spoils food. Wipe down freezer walls with soapy water to eliminate odor sources that transfer to new ice.
Ice Bin Removal Without Damage
Squeeze and lift using the bin’s release mechanism. Insert fingers into the hole at the bin’s base, firmly squeeze the latch inward, then lift straight up while pulling toward you. Forcing the bin cracks plastic housings—apply steady pressure for 5 seconds if frozen.
Discard all existing ice immediately. Even seemingly clear cubes absorb odors from dirty bins. Melt stubborn frozen chunks with warm (not hot) water in the sink. Never reuse this ice—contaminants remain after melting.
Hand-wash only—no dishwashers allowed. Check for “dishwasher safe” stamps underneath the bin. Most require hand washing with mild soap and a soft sponge to preserve antimicrobial coatings. Dishwasher heat warps plastic, creating crevices for future mold growth.
Deep Clean Ice Maker Components
Hand-Wash Removable Parts Properly
Fill your sink with warm water and 1 tablespoon dish soap. Submerge the ice bin and any trays, scrubbing corners with a soft sponge where mold hides. Rinse under running water for 30 seconds—residual soap creates off-flavors. Dry completely with a clean cloth before reinstallation.
Eradicate Mold with Vinegar Soak
For visible black spots, pour 3 cups vinegar-water solution through a funnel into the water line. Let it circulate for 10 minutes while scrubbing the dispenser chute with an old toothbrush. Vinegar kills 99% of mold spores without toxic residues—bleach corrodes metal components.
Clean Ice Dispenser Chute Thoroughly
Access the chute beneath the bin storage area. Wipe from top to bottom with a vinegar-dampened cloth to dissolve buildup. Immediately dry with a second cloth—any moisture refreezes within minutes, undoing your work. Pay special attention to the auger housing where ice jams occur.
Flush Water Lines to Eliminate Contaminants

Disconnect copper tubing carefully. Position a bucket under the line behind your fridge, then twist the plastic nut counterclockwise. Some connections require channel-lock pliers—never force fittings. Expect 2-3 ounces of drainage before proceeding.
Vinegar flush dissolves hidden deposits. Pour 2 cups vinegar through the funnel into the exposed line. Hold the tubing elevated for 7 minutes to maximize contact time with mineral buildup. This step is non-negotiable in hard water areas where deposits choke water flow.
Complete 5 rinse cycles minimum. Dispense vinegar through the water dispenser into cups until odor disappears. Follow with 4 flushes of clean water—any residual taste affects ice for weeks. Persistent vinegar smell means repeating rinse cycles.
Reassemble and Test Ice Production

Install new water filter immediately. Old filters cause gray ice even after cleaning—replace every 6 months regardless of appearance. Locate your model’s filter (often in the grille or door) and twist counterclockwise to remove. Hand-tighten the new filter; over-tightening cracks housings.
Restore water supply and wait 10 minutes. Turn the shutoff valve counterclockwise slowly to prevent pressure surges. Allow time for the internal reservoir to refill—rushing this causes airlocks that halt production.
Discard first 3 ice batches religiously. These contain loosened debris and cleaning residues. Continue discarding until cubes are perfectly clear and taste neutral—this takes 1-2 hours typically. Never skip this step for immediate ice use.
Hard Water Area Maintenance Protocol
Clean every 3 months—not 6—in mineral-heavy regions. Test your water hardness online—if above 7 grains per gallon, increase cleaning frequency. Hard water reduces ice production by 40% within months as deposits insulate freezing coils.
Monitor production rate weekly. Track daily ice output in a notes app. A 20% drop signals mineral buildup needing immediate vinegar treatment. Ignoring this leads to complete freezing failure within weeks.
Install in-line water softeners for permanent solution. These $30 filters attach directly to your fridge’s water line, removing minerals before they enter the system. They outperform whole-house softeners for ice maker protection alone.
Prevent Future Ice Maker Failures
Discard unused ice weekly. Stale ice absorbs refrigerator odors within 48 hours. Empty bins every Sunday—this habit prevents 90% of taste complaints. Summer heat accelerates odor transfer, requiring bi-weekly emptying.
Document cleaning dates visibly. Write the next due date on your fridge with a marker: “Next Ice Clean: [Date].” Calendar alerts fail when you’re grocery shopping—physical reminders work when it counts.
Clean freezer compartments simultaneously. Wipe shelves with vinegar solution while the ice maker dries. This stops odor migration at the source—dirty freezer walls contaminate ice faster than a dirty maker.
Troubleshoot Immediate Post-Cleaning Issues
Ice Maker Won’t Activate After Cleaning
Check three control points: Ensure the metal arm is fully lowered, digital button shows “On,” and power cord is reconnected. Most “failures” are simply missed control resets—verify each mechanism before calling service.
Persistent Vinegar Taste in Ice
Flush with 6 additional water cycles. Some models require up to 10 gallons of water to clear residues. Run the water dispenser continuously into a pitcher until odor vanishes completely—this takes 5-7 minutes typically.
Bin Won’t Reinstall Properly
Thaw frozen latches with warm cloths. Apply for 90 seconds to the bin’s base before reinsertion. Forcing it cracks plastic guides—gentle heat solves 95% of installation issues. Never use hair dryers; excessive heat warps components.
Final Note: Crystal-clear ice that enhances rather than ruins your beverages is just one cleaning cycle away. Schedule your next maintenance session now—set a phone reminder for exactly six months from today. Your future self will thank you when guests arrive and your fridge door delivers perfect ice on demand.