Fix Ice Clumping in Ice Maker | Quick Solutions
This post contains affiliate links. As an Amazon Associate, we earn from qualifying purchases.
Nothing ruins the convenience of a modern refrigerator faster than opening your ice dispenser to find a solid block of frozen cubes instead of individual pieces. When ice clumping in ice maker systems transforms what should be a simple refreshment task into a frustrating excavation project, you know something’s wrong. This common household nuisance affects millions of users, turning reliable appliances into sources of daily annoyance—especially when you’re trying to quickly fill a glass on a hot day. The culprit? Usually preventable issues that you can diagnose and fix without professional help.
Ice fusion problems typically stem from temperature fluctuations, moisture intrusion, or mechanical failures within your appliance. Most homeowners don’t realize that maintaining consistently cold temperatures and addressing minor component issues can prevent 90% of ice clumping cases. Let’s explore the specific causes behind your frozen ice block dilemma and implement practical solutions to restore reliable ice production today.
Pinpoint Your Ice Maker’s Temperature Problems

Why 0°F Is Your Ice Maker’s Sweet Spot
Your freezer’s temperature directly determines whether you get perfect cubes or a solid ice mass. When temperatures creep above the critical 0°F (-18°C) threshold, even slightly, micro-thawing occurs at cube contact points—creating the perfect conditions for refreezing into larger blocks. At 20°F (-7°C), rapid clumping begins as partial melting creates liquid bridges between cubes. Above freezing point, complete melting and refreezing transforms your ice bin into a solid glacier.
Place an accurate freezer thermometer directly in your ice bin area to monitor real conditions. Temperature instability often stems from excessive defrost cycles, faulty door seals, or frequent door openings. Each warming cycle gives cubes the opportunity to fuse together permanently. If your thermometer consistently reads above 5°F, immediate adjustment is needed to prevent ongoing ice clumping in ice maker systems.
Identify Hidden Temperature Culprits
Several often-overlooked issues sabotage your freezer’s ability to maintain stable temperatures:
- Defrost cycle malfunctions: Excessive cycling creates repeated warming periods
- Faulty interior lighting: Bulbs that stay illuminated generate significant heat
- Power fluctuations: Brief outages cause partial thawing and refreezing
- Overloaded compartments: Restricted airflow prevents even cooling
Check for these warning signs that indicate temperature instability: ice crystals forming on cubes, frost buildup around the ice maker, or inconsistent freezing times between batches. If your freezer struggles to maintain 0°F even after thermostat adjustment, professional service may be needed for electrical or refrigerant issues.
Stop Moisture from Creating Ice Clumps
Block External Humidity Infiltration
Every time you open your freezer door, humid air rushes in and settles around the ice maker—especially problematic in non-air-conditioned environments. This moisture condenses on cold surfaces and freezes, creating the glue that binds cubes together. Compromised door gaskets accelerate this process dramatically.
Test your seal integrity with the dollar bill method: close a bill in the door seal and pull gently. Consistent resistance around the entire perimeter indicates a good seal. Weak spots require immediate attention. Clean gaskets monthly with mild detergent and inspect for cracks or tears that allow humid air entry. During high-humidity seasons, minimize door opening duration to under 15 seconds to prevent moisture infiltration.
Eliminate Internal Water Sources
Internal moisture problems often go undiagnosed but cause significant ice clumping:
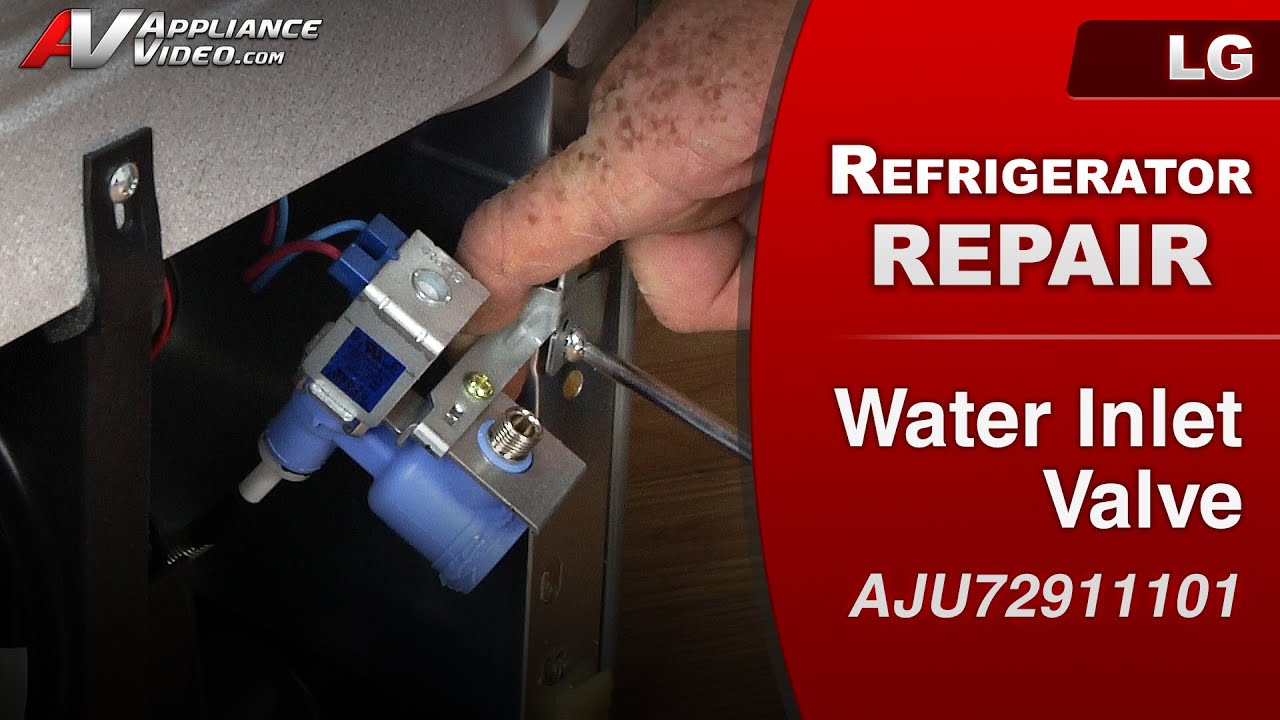
- Water valve leaks: Dripping after fill cycles creates excess water
- Overfilling: Ice trays exceeding capacity form connecting bridges
- Condensation: Temperature differentials create moisture pockets
To test for valve leakage, disconnect outlet valves while maintaining water line connection, then watch for drips during inactive periods. Any dripping within 10 minutes after the fill cycle confirms valve failure. For overfilling issues, locate the water level adjustment screw behind the ice maker cover and make quarter-turn clockwise adjustments to reduce fill volume.
Immediate Ice Clump Removal Techniques
Safely Break Up Solid Ice Blocks
When facing a fully clumped ice bin, avoid metal tools that can damage your ice maker’s delicate components. Instead:
- Use a sturdy plastic utensil to apply gentle pressure at natural fracture points
- Work systematically from top to bottom, removing small sections at a time
- For severe clumping, empty the entire bin and allow it to thaw completely
Pro tip: For stubborn blocks, fill the bin with warm (not hot) water for 30 seconds to loosen connections, then drain thoroughly before restarting. Never use excessive force that could damage the ice maker housing or ejection mechanism.
Complete Reset Procedure for Persistent Clumping
When ice clumping in ice maker systems persists after clearing the immediate blockage:
- Power down the ice maker and remove all remaining ice
- Wash the bin with warm water and mild detergent (no harsh chemicals)
- Rinse thoroughly and dry completely with a soft cloth—moisture residue guarantees future clumping
- Restart the system and allow 24 hours for new ice production
This reset process eliminates residual moisture and gives your system a clean start. Monitor the first few batches closely to ensure the problem doesn’t immediately return.
Prevent Future Ice Clumping with Smart Maintenance
Implement Weekly Temperature Checks
Establish a simple weekly routine to prevent ice maker headaches:
- Verify freezer temperature at bin level (target: 0°F)
- Inspect door seals for debris or damage
- Listen for proper flapper door closure
- Empty older ice to prevent compression clumping
Keeping your freezer at optimal capacity (about 3/4 full) maintains thermal stability during defrost cycles. An empty freezer lacks sufficient thermal mass, causing wider temperature swings that promote ice fusion.
Adjust Fill Levels for Perfect Cubes
Improper water levels directly cause ice clumping through two mechanisms: overfilling creates connecting bridges between cubes, while underfilling produces smaller cubes that compress more easily. The ideal fill level leaves about 1/8 inch of space below the tray rim.
Adjust your fill level by:
- Removing the ice maker front cover
- Locating the water level adjustment screw
- Making quarter-turn clockwise adjustments to decrease fill
- Testing over 2-3 cycles before finalizing
This simple calibration takes minutes but prevents the most common cause of ice clumping in ice maker systems.
Model-Specific Ice Clumping Solutions
Troubleshoot LG French Door Units (LFXS26973S/02)
These popular models present unique ice clumping challenges due to their dual valve system. When experiencing persistent clumping:
- Check both primary and secondary water valves for leakage
- Remove the bottom freezer drawer for valve access
- Verify proper flapper door closure after each use
- Monitor temperature specifically at bin level (not general freezer)
The complex valve configuration often requires professional diagnosis if multiple components fail simultaneously. Consider service if clumping persists after basic troubleshooting.
Fix 1990s Era Side-by-Side Models
Older units commonly develop flapper door malfunctions that allow warm air infiltration:
- Remove the front cover to access the door adjustment mechanism
- Clean ice buildup from door tracks and hinges
- Apply food-grade silicone lubricant to restore smooth operation
- Test door closure repeatedly to ensure complete sealing
Despite their age, these models still require the same 0°F temperature standard for optimal ice production. Many vintage units operate reliably for decades with proper maintenance.
When to Call a Professional
Seek expert help when you encounter:
- Temperature instability that persists after thermostat adjustment
- Electrical issues requiring component testing
- Refrigerant system concerns affecting freezer performance
- Multiple component failures occurring simultaneously
- Warranty-covered repairs on newer units
Professional diagnosis typically costs $75-150 but provides clarity on whether repair or replacement makes financial sense. For units under 5 years old, service is often more economical than replacement.
Maintaining proper freezer conditions and addressing moisture sources solves most ice clumping problems. By implementing these targeted solutions and preventive measures, you’ll transform your ice maker from a source of frustration into the reliable convenience it was designed to be. Regular attention to temperature stability, moisture control, and component maintenance ensures perfectly separated cubes every time you reach for ice.