How to Clean Ice Maker Bin: Easy Steps
This post contains affiliate links. As an Amazon Associate, we earn from qualifying purchases.
That cloudy film coating your ice maker bin isn’t just gross—it’s a bacterial breeding ground hiding in plain sight. Since the FDA classifies ice as food, every slimy spot and mineral deposit threatens your health with every glass you pour. This guide delivers the exact professional cleaning sequence used in commercial kitchens, adapted for home refrigerators. You’ll eliminate stubborn biofilm, restore crystal-clear ice production, and prevent future contamination with techniques that take under 45 minutes.
Most people don’t realize their ice bin silently accumulates mold from humid air, bacteria from improper handling, and mineral scale from hard water. Without regular deep cleaning, these contaminants create a protective biofilm layer that standard wiping can’t touch. Following this step-by-step protocol ensures every surface meets food safety standards while extending your appliance’s lifespan. Let’s reclaim your ice quality starting today.
Why Your Ice Maker Bin Becomes a Bacterial Hotspot
Ice bins create the perfect storm for contamination through three hidden pathways. Human contact during scooping transfers skin bacteria directly into your ice supply, while airborne yeast from kitchens accelerates mold growth in damp corners. Most dangerously, mineral deposits from hard water form microscopic pits where bacteria nestle against smooth plastic surfaces. This combination creates biofilm—a slimy fortress that standard wiping can’t penetrate.
Critical Cleaning Schedule Based on Your Environment
- Home refrigerators: Deep clean every 6 months (immediately if ice tastes odd)
- High-traffic areas: Clean exterior surfaces daily, deep clean monthly
- Bakeries/breweries: Quarterly deep cleaning mandatory (yeast triples bacterial growth)
- Warning trigger: Cloudy ice or slow harvesting means clean within 24 hours
Ignoring these schedules risks serious health hazards. Visible slime indicates advanced biofilm development where pathogens like Listeria and E. coli thrive undetected. Your ice isn’t just cloudy—it’s actively contaminating every drink.
Essential Safety Steps Before Cleaning
Skipping these precautions risks chemical exposure and equipment damage. Always treat your ice bin as a food-contact surface requiring commercial-grade safety protocols.
Must-Do Safety Protocol
Unplug your refrigerator and shut off the ice maker water line. Remove all ice using a plastic scoop—not your hands—to prevent cross-contamination. For built-in units, squeeze the bin’s base latch and pull straight out over a sink. Discard all ice if using chemical cleaners; store temporarily in a clean container if using vinegar solution.
Critical warning: Wear rubber gloves and safety glasses before starting. Never mix cleaning solutions—combining bleach and vinegar creates toxic chlorine gas. Allow 10 minutes for stuck ice to release naturally before forcing removal.
Required Supplies for Professional Results

Using the wrong tools leaves residue that affects ice taste and safety. Match your supplies to your unit type for guaranteed results.
Commercial-Grade Solutions for Home Use
- Affresh Ice Machine Cleaner (Whirlpool-compatible formula)
- Half-and-half vinegar solution: 1 cup distilled white vinegar + 1 cup warm water
- Nyco N601+ Sanitizer (no-rinse option for quick turnarounds)
Essential Tools Checklist
- Non-scratch nylon brush (never metal scourers)
- Old toothbrush for crevices
- Microfiber cloths (lint-free)
- Spray bottle for solution application
- Plastic ice scoop (store separately after cleaning)
Pro tip: For refrigerator models, warm your vinegar solution to 100°F (38°C)—this doubles descaling effectiveness without harsh chemicals.
Deep Cleaning Process: 7 Non-Negotiable Steps
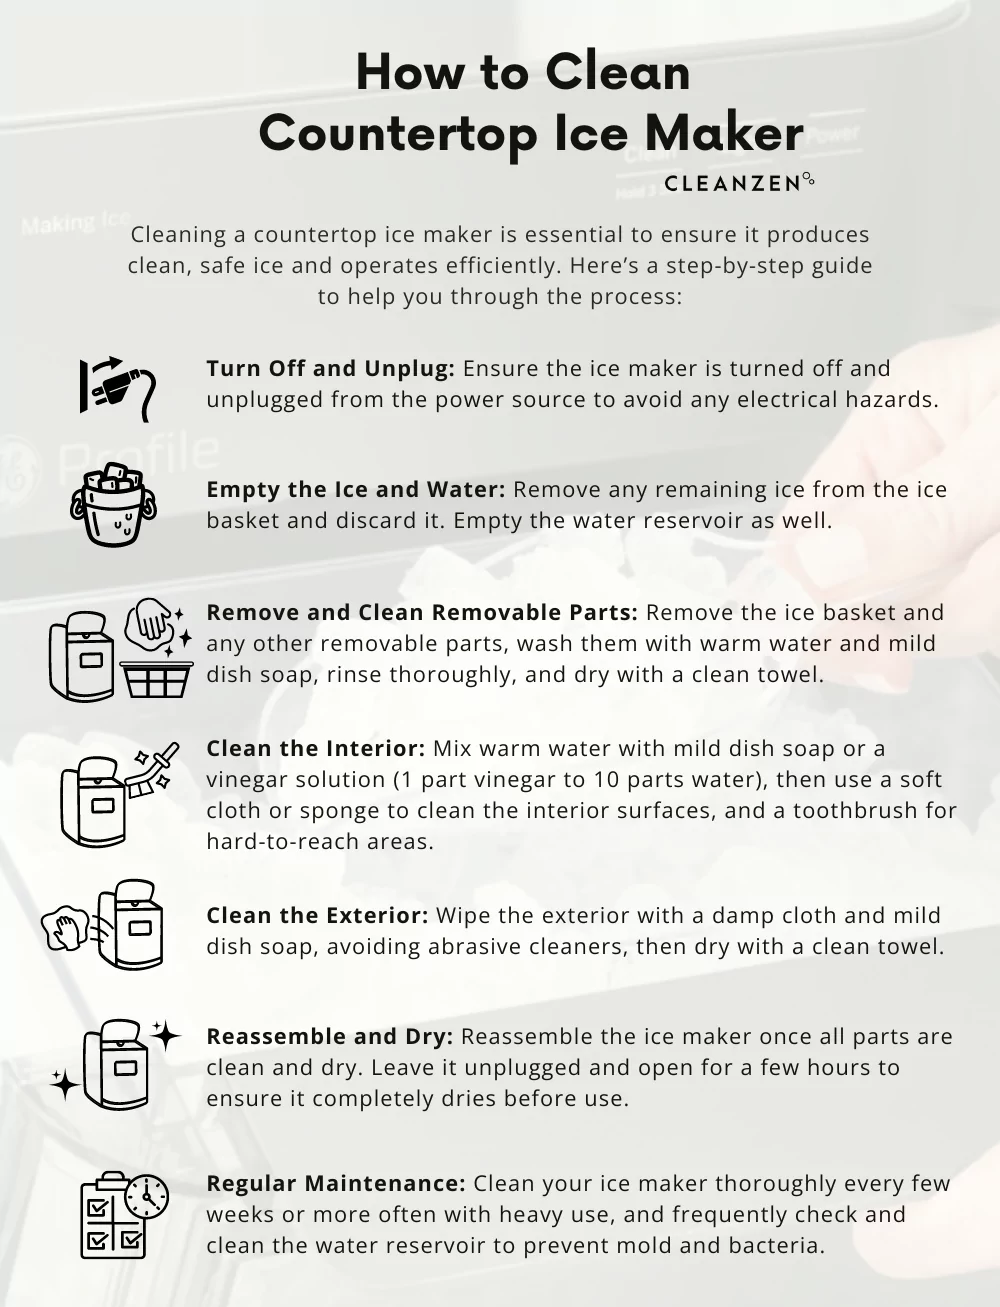
This FDA-compliant sequence eliminates all contamination types. Skipping any step leaves behind bacteria or chemical residue.
Step 1: Remove Ice and Debris
Empty all ice using your plastic scoop. Wipe visible chunks from corners with a warm, damp microfiber cloth. For refrigerator bins, remove the ice tray assembly and set aside.
Step 2: Apply Descaling Solution
Spray vinegar solution liberally on all interior surfaces, especially corners and drain holes. Let sit for exactly 20 minutes—this dwell time dissolves mineral deposits hiding bacteria. Never exceed 30 minutes as prolonged exposure damages plastic.
Step 3: Scrub Problem Areas
Use the nylon brush on scale-prone zones: the bin bottom, drain trough, and ice chute entrance. For refrigerator models, focus on the ice tray’s ejection pins where cubes stick. A toothbrush tackles slime in screw holes and seams.
Step 4: Disinfect Food-Contact Surfaces
Rinse thoroughly with clean water, then apply a fresh vinegar solution. Maintain 10 minutes of wet contact time—set a timer! This kills 99.9% of bacteria without bleach’s aftertaste. For commercial units, use NSF-certified sanitizer per label instructions.
Step 5: Clean the Drain System
Pour ¼ cup vinegar directly into the drain opening. Insert a bottle brush to scrub the interior pipe where biofilm accumulates. Flush with hot water until clear.
Step 6: Sanitize the Ice Scoop
Soak your plastic scoop in vinegar solution for 5 minutes. Scrub handle grooves with a toothbrush. Air-dry completely before storing in its holster—never inside the bin.
Step 7: Final Rinse and Dry
Rinse all surfaces with distilled water to prevent new mineral deposits. Wipe with a dry microfiber cloth, then air-dry for minimum 20 minutes. Residual moisture causes immediate recontamination.
Refrigerator-Specific Fixes for Stubborn Issues
Home units have unique pain points requiring targeted solutions. These fixes prevent common frustrations.
Eliminating Frost in the Ice Chute
Wipe the chute interior with a warm, damp cloth to melt ice buildup. Dry immediately with a microfiber towel—trapped moisture causes refreezing within hours. For persistent frost, run a hairdryer on low heat 6 inches from the surface for 30 seconds.
Removing Stuck Ice Cubes
Soak trays in hot vinegar solution for 1 hour. Gently twist cubes loose—never pry with metal. If cubes still stick, check your freezer temperature; ice releases best at 0°F (-18°C). Higher temps cause partial freezing.
Preventing Future Contamination: 3 Daily Habits
Professional kitchens enforce these non-negotiable rules to cut cleaning frequency by 50%.
- Store the scoop in its wall-mounted holster—never in the ice bin where it breeds bacteria
- Wipe exterior surfaces nightly with a vinegar-dampened cloth
- Discard ice left sitting for over 24 hours (melts and refreezes into contamination traps)
Critical reminder: Replace your water filter every 6 months. Old filters introduce carbon particles that accelerate biofilm growth. Check your ice monthly for cloudiness—if present, deep clean immediately.
Troubleshooting Common Ice Maker Problems
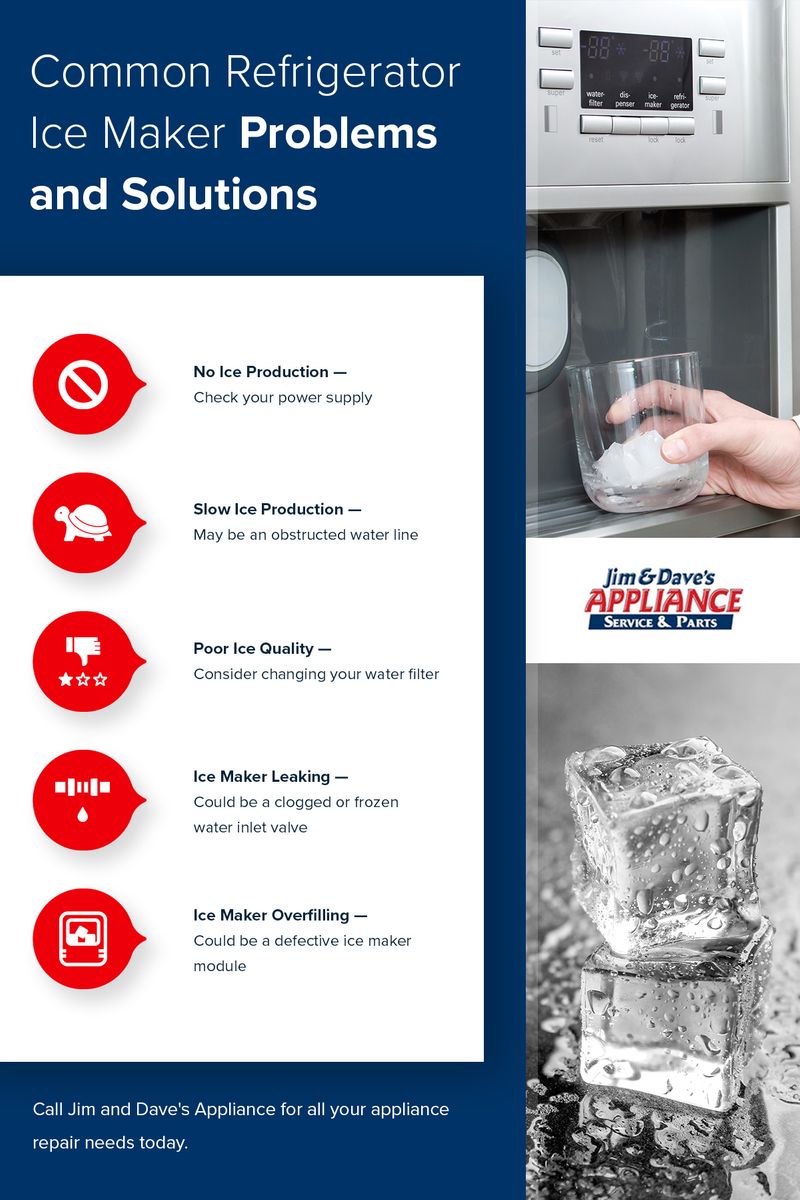
Cloudy Ice After Cleaning
This indicates incomplete descaling. Repeat Step 2 with undiluted vinegar, extending dwell time to 25 minutes. For hard water areas, install an in-line filter to prevent recurrence.
Slow Ice Production
Mineral buildup in the water inlet valve is the culprit. Remove the valve (consult your manual) and soak in vinegar for 2 hours. Reinstall and run 3 ice cycles before use.
Musty Odors in Ice
Clean your freezer’s drip pan—spilled food there transfers odors through the air vent. Seal all food containers tightly and replace the water filter.
When to Call a Professional vs. DIY
DIY is safe for: Home refrigerators, simple commercial bins, monthly maintenance. Always follow manufacturer guidelines—using wrong cleaners voids warranties.
Call a pro for: Under-counter units with hidden drain lines, persistent biofilm after 2 cleanings, or if your ice machine is under warranty (many require certified servicing).
Final safety reminder: Never restart your ice maker until all surfaces are bone-dry. Residual moisture traps cleaning chemicals in your first ice batch. Discard the first 3 ice cycles after deep cleaning—your health isn’t worth the risk.
Your ice maker bin now produces FDA-safe ice with zero contamination. Mark your calendar for the next deep clean in 6 months, but maintain daily scoop hygiene to prevent problems. For immediate issues like persistent cloudiness, revisit Step 2 with extended vinegar dwell time. Remember: crystal-clear ice isn’t just about appearance—it’s your first line of defense against foodborne illness. Start protecting your family’s health today with this simple, life-saving routine.