How to Clean Ice Maker Filter: Quick Steps
This post contains affiliate links. As an Amazon Associate, we earn from qualifying purchases.
That first sip of ice-cold water should be refreshing, not tainted with odd flavors or odors. When your ice maker starts producing cloudy cubes, reduced output, or ice with unpleasant tastes, a clogged filter is often the invisible culprit. Learning how to clean ice maker filter components properly isn’t just about better-tasting ice—it prevents costly repairs and extends your appliance’s lifespan. This guide cuts through the confusion with manufacturer-approved techniques for every filter type, so you can restore crystal-clear ice production in under an hour. Skip the service calls and discover exactly when to clean versus replace, plus pro tips to keep your system running smoothly for years.
Identify Your Ice Maker Filter Type
Your filter’s design dictates whether cleaning is possible or if replacement is mandatory. Misidentifying this could damage your machine or waste your effort. Always locate your filter first—typically behind a front access panel or integrated into your refrigerator’s water line—before proceeding.
Pre-Filter Systems
Recognize these by their simple mesh construction: plastic frames holding fine metal or synthetic screens. They trap visible debris like sand and rust particles before water enters the ice chamber. Because they lack chemical treatments, you can safely clean pre-filters multiple times using gentle methods. Check for visible gunk clogging the mesh—this type won’t have pellets or crystals inside.
Treated Chemical Filters
These contain phosphate pellets or crystalline substances that actively break down minerals. Look for small, granular components inside a plastic housing—never a simple mesh screen. Critical note: Cleaning won’t restore their function because the chemical treatment depletes permanently. If your filter has these pellets, replacement is your only option regardless of visible buildup.
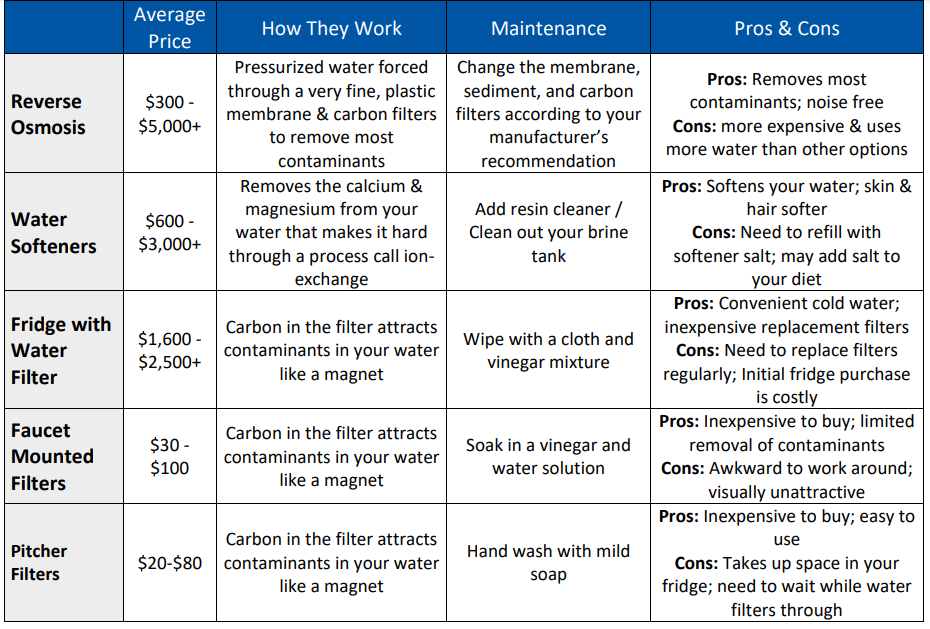
Reverse Osmosis Membranes
Found in high-end systems, these feel like thin, delicate paper with no visible mesh. They block microscopic particles through microscopic pores. Unlike other types, RO membranes can’t be cleaned effectively—clogged pores require full replacement every 3-6 months. Attempting DIY cleaning often damages the fragile material, so professional service is recommended.
When to Clean vs Replace Your Filter
Water hardness in your area dramatically impacts maintenance needs. Hard water regions (like Phoenix or Las Vegas) clog filters 2-3 times faster than soft water areas (such as Seattle). Always check your filter monthly for these telltale signs.
Replace immediately if:
– Ice tastes metallic, bitter, or “plasticky”
– Production dropped over 25% (e.g., bin fills half as fast)
– Filter housing shows visible cracks or warping
– Manufacturer specifies “non-cleanable” in documentation
Clean only when:
– You have a confirmed pre-filter mesh type
– Filter is under 6 months old with minor buildup
– No chemical pellets or RO membranes present
– Manufacturer explicitly permits cleaning
Essential Safety Steps
Rushing into filter maintenance risks electrical hazards or irreversible damage. These non-negotiable steps protect both you and your appliance.
Power down protocol:
– Unplug the ice maker or disconnect refrigerator power
– Wait 10+ minutes for internal mechanisms to reset
– Shut off the water supply valve (usually under the sink)
– Place towels beneath the unit to absorb residual water
Never risk using:
– Abrasive tools like steel wool or stiff brushes
– Bleach, ammonia, or commercial descalers
– Hot water above 120°F on plastic components
– Dishwasher cycles for any filter parts
Required Cleaning Supplies
Gather these items before starting to avoid mid-process delays. Using incorrect materials risks filter damage.
For pre-filter cleaning:
– Mild dish soap (Dawn or Seventh Generation)
– Warm water (90-100°F)
– Soft-bristled toothbrush (unused)
– Microfiber cloths
– Baking soda and lemon juice (for tough deposits)
For system flushing:
– Manufacturer-approved cleaner (Affresh® or equivalent)
– 32 oz measuring cup
– Small bucket
– Phillips screwdriver
– Flashlight for dark compartments
How to Clean Pre-Filter Mesh Screens
This method applies only to non-chemical mesh filters. If you have treated or RO filters, skip to replacement sections immediately.
Remove Filter Safely
- Locate housing (typically behind lower kickplate panel)
- Turn filter counterclockwise ¼ turn until loose
- Pull straight out—never twist or yank
- Photograph orientation for correct reinstallation
Wash and Rinse Process
- Initial rinse: Hold under warm running water for 30 seconds
- Soap soak: Submerge in mild soap solution for 5 minutes
- Gentle scrub: Use toothbrush on both mesh sides with light pressure
- Thorough rinse: Continue until runoff water runs perfectly clear
- Air dry: Place on clean towel for 45+ minutes—never reinstall damp
Pro tip: Hold filter to light after cleaning. If you can’t see distinct light patterns through the mesh, replace it immediately.
Clean Complete Ice Maker System
Even with a clean filter, residual buildup in water lines affects ice quality. Perform this quarterly.
Freestanding Unit Cleaning
- Drain water: Remove drain cap, empty pan completely
- Mix solution: 16 oz cleaner + 32 oz warm water
- Run cycle: Press “Clean” button—wait for solid indicator light
- Flush twice: Drain solution, then run two rinse cycles with plain water
- Discard first batch: Throw away initial ice production
Refrigerator Ice Maker Process
- Empty bin: Remove all ice cubes completely
- Wipe chute: Clean dispenser opening with vinegar-dampened cloth
- Clean bin: Wash with soapy water, dry thoroughly
- Test cycles: Produce and discard 4-5 ice batches
- Verify performance: Monitor ice clarity over 24 hours
Handle Stubborn Mineral Buildup

For calcium deposits that resist standard cleaning, escalate carefully.
Baking Soda Power Clean
Combine 2 tbsp baking soda with 1 tbsp lemon juice to form a paste. Apply with microfiber cloth to affected areas, wait 5 minutes, then gently rub with circular motions. This safely dissolves limescale without scratching. Rinse thoroughly until water runs clear.
Vinegar Soak Method (Pre-filters ONLY)
- Mix equal parts white vinegar and warm water
- Submerge filter for 15 minutes max
- Scrub lightly with toothbrush
- Rinse 3x longer than vinegar soak time
- Air dry 2+ hours before reinstalling
Warning: Vinegar destroys phosphate treatments in chemical filters—never use on treated types.
Replace Non-Cleanable Filters
When cleaning isn’t an option, correct replacement prevents system damage.
Filter Replacement Steps
- Order exact match: Note model number from old filter
- Pre-flush new filter: Run 3 gallons of water through it first
- Reset indicator: Hold reset button 3+ seconds per manual
- Monitor ice: Check taste/output for 48 hours
Cost insight: DIY replacement costs $35-85 versus $180+ for professional service. Always recycle old filters through manufacturer programs.
Prevent Future Filter Problems
Proactive care doubles filter lifespan and ensures consistent ice quality.
Monthly Maintenance Checklist
- Visual inspection: Shine flashlight into water lines weekly
- Ice quality test: Taste first cube from new batch daily
- Flow check: Time how long bin takes to fill (note slowdowns)
- Bin cleaning: Wash storage container with soapy water monthly
Seasonal Deep Clean
Every 3 months, run a full system cleaning cycle even if ice looks fine. This prevents invisible biofilm buildup that affects taste. Use manufacturer-approved cleaner—not vinegar—for this critical maintenance.
Troubleshooting Common Issues
When problems persist after cleaning, diagnose systematically.
Cloudy ice after cleaning: Run 3 more rinse cycles—residual cleaner is the likely cause.
Reduced production: Check water supply valve is fully open—90% of slowdowns stem from partial shutoff.
Persistent bad taste: Replace filter immediately—chemical treatments can’t be restored.
Machine won’t restart: Verify filter clicks into place with audible “snap”—improper seating triggers safety locks.
Cost vs Professional Service
DIY cleaning saves $150-300 per service call but requires precision. Choose professional help if:
– Your unit has reverse osmosis filtration
– Manufacturer warranty requires certified technicians
– You’ve had two consecutive cleaning failures
– This is a commercial ice machine
DIY reality check: Most residential units take 45-75 minutes for complete filter maintenance. If you’re uncomfortable handling water lines or electrical components, book professional service—your ice maker’s longevity depends on proper care.
Regular filter maintenance isn’t optional—it’s essential insurance for your appliance. Set phone reminders every 6 months to inspect your filter, and always replace chemical types on schedule regardless of appearance. By mastering how to clean ice maker filter components correctly, you’ll enjoy pristine ice while adding years to your machine’s life. For persistent issues, consult your model’s manual for brand-specific cleaning protocols before calling a technician.