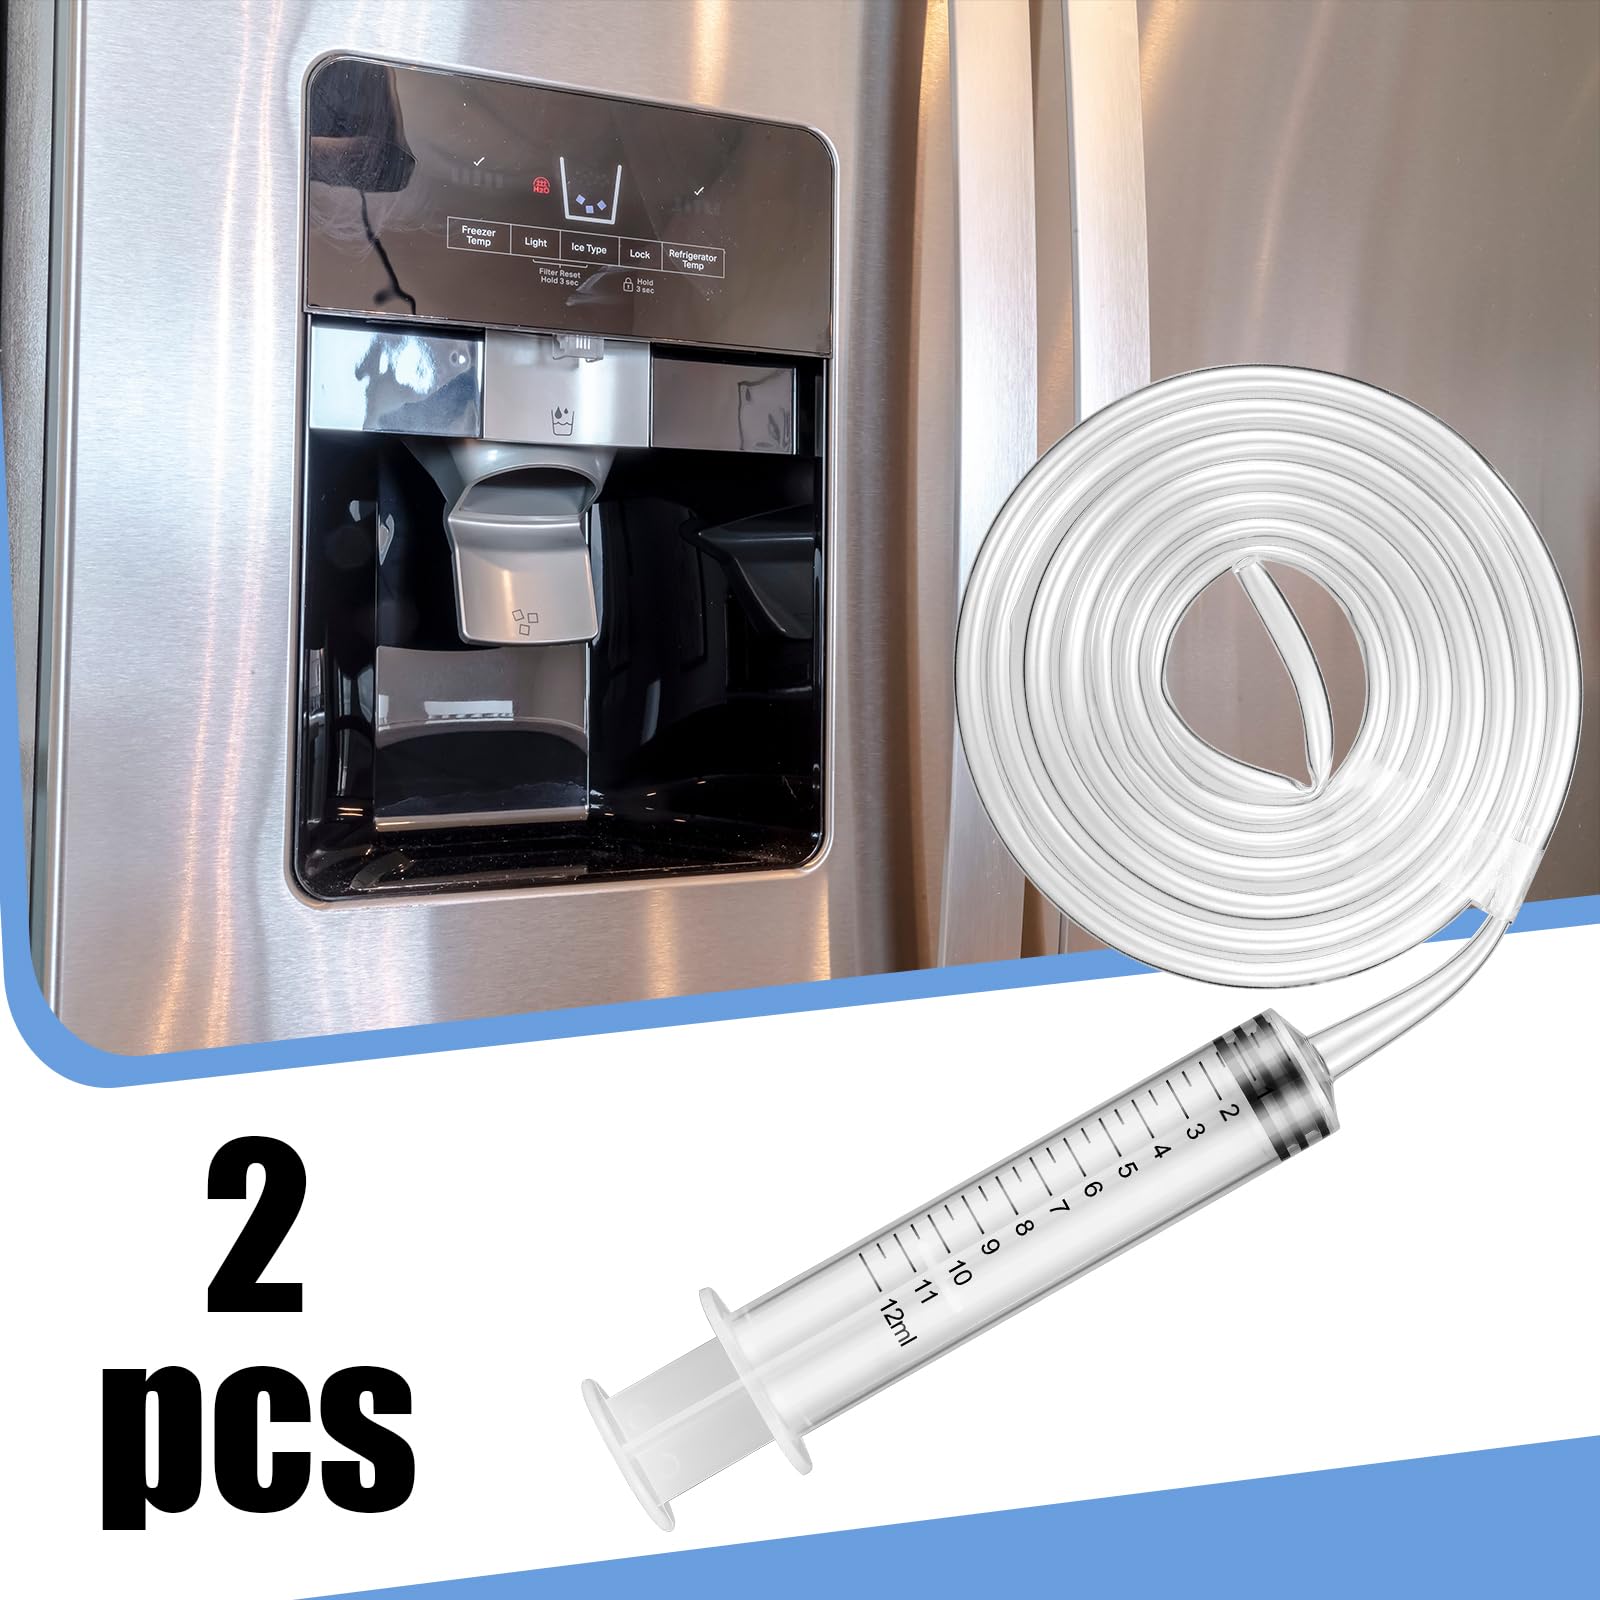
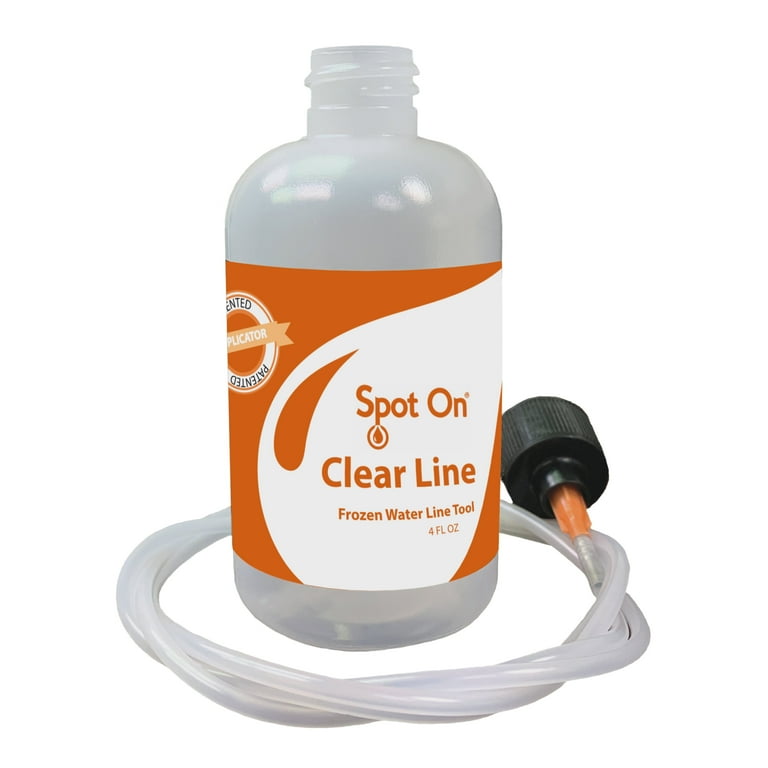
How to Clean Refrigerator Ice Maker Water Line
This post contains affiliate links. As an Amazon Associate, we earn from qualifying purchases.
That first sip of ice-cold water should refresh you—not make you gag. When your refrigerator dispenses musty-tasting ice or produces thin, hollow cubes, mineral scale and microbial growth inside the water line are almost always the hidden culprits. Ignoring these clogs risks permanent damage to your ice maker valve, costly leaks under your fridge, and weeks of unpleasant-tasting beverages. This guide reveals the exact 30-minute vinegar flush method technicians use to dissolve blockages, eliminate off-flavors, and prevent future clogs—all without harsh chemicals or service calls. You’ll learn to diagnose line restrictions, execute a foolproof cleaning process, and implement a simple maintenance schedule that keeps your ice production running smoothly for years.
Why Your Ice Tastes Musty or Stops Forming Completely
Mineral deposits and organic growth silently choke your refrigerator’s ¼-inch water line over months, degrading performance long before visible clogs appear. Hard water scale narrows the tubing diameter, while stagnant moisture breeds algae inside vinyl supply lines. Both restrict water flow to critical levels—below the 20 psi required to activate your ice maker valve—starving the mold and altering taste chemistry. Left unaddressed, pressure buildup at blockage points can burst weak tubing sections, causing slow leaks that warp kitchen floors beneath your appliance.
No Ice Production Despite Cold Freezer
Your ice maker won’t cycle if water pressure drops below 15 psi. Check for hollow or paper-thin cubes—a telltale sign of restricted flow starving the mold during freezing. If the freezer temperature reads normal but ice production halts, the water line—not the thermostat—is the likely failure point.
Vinegar or Moldy Flavors in Ice Cubes
Organic films coating the tubing interior leach compounds into water long before visible slime appears. Taste-test dispenser water: a metallic, sour, or earthy aftertaste confirms microbial contamination. Don’t mistake this for a bad water filter—flushing the line often resolves flavor issues even with a new filter installed.
Water Leaks Behind or Under Refrigerator
A bulging or discolored spot on vinyl tubing indicates pressure-induced swelling from a partial blockage upstream. When the line finally ruptures, leaks pool silently under cabinets or saturate subflooring. Catch this early during your visual inspection to avoid $500+ water damage repairs.
Critical Safety Steps Before Touching Any Components
Skipping these precautions risks electrical shock, flooding, or damaging your refrigerator’s water valve. Always start here—no exceptions.
Unplug Power and Isolate Water Supply
- Pull your refrigerator 12 inches from the wall using slow, steady pressure to avoid kinking the line.
- Locate the dedicated shut-off valve (typically behind the fridge, under the sink, or in an adjacent cabinet).
- Turn the valve clockwise until fully closed—never force it.
- Press the water dispenser paddle for 10 seconds to relieve line pressure.
Prepare for Fluid Spills
Lay 3–4 absorbent towels along the floor behind the fridge. Position a 1-gallon bucket beneath the water valve connection point. Keep a dry microfiber cloth in your pocket to immediately wipe accidental drips—vinegar residue attracts dust that hardens into new clogs.
Exact Tools Needed for a One-Time Vinegar Flush

| Tool | Purpose | Critical Detail |
|---|---|---|
| 16 oz distilled white vinegar | Dissolves mineral scale and kills microbes | Never substitute bleach—it degrades rubber seals |
| ¼-inch barbed adapter | Connects garden sprayer to fridge inlet | Must match your valve’s thread size (check manual) |
| Hand-pump garden sprayer | Pressurizes vinegar solution to 25 psi | $8 at hardware stores; essential for full line penetration |
| Hose clamp or hemostat | Seals tubing during gravity flush | Prevents vinegar backflow into reservoir |
| Copper tubing cutter | Replaces cracked vinyl lines | Avoid pliers—they crush soft tubing |
Pro Tip: Upgrade from vinyl to ¼-inch copper supply line during this job if your tubing is over 3 years old. Copper resists scale buildup 5x better than plastic and eliminates flavor leaching—paying for itself in fewer cleanings.
Spot Hidden Line Damage During Visual Inspection

Trace the entire water line path from the shut-off valve to the refrigerator inlet while the fridge is pulled out. Pay special attention to bends near the floor—kinks here mimic clogs by restricting flow. Replace any section with cracks, cloudiness, or soft spots before flushing, or you’ll recontaminate the line immediately.
Diagnose False Clog Indicators
- Water filter test: Remove the filter and shine a flashlight through it. If light doesn’t pass through clearly, replace the filter—clogged filters mimic line blockages.
- Dispenser nozzle check: Swab the spout with vinegar-dampened cotton swab. Black residue means mold will re-infect lines; sanitize with food-safe hydrogen peroxide.
Execute the Vinegar Flush: Two Field-Tested Methods
Pouring vinegar into an unpressurized line won’t reach the ice maker valve—it requires 20 psi to open. These techniques force solution through all circuits. Always start with the gravity method; use pressurized only if flow remains restricted.
Gravity Flush for Basic Clogs (15 Minutes)
- Disconnect the supply line at the fridge inlet and route into your bucket.
- Insert a small funnel into the refrigerator’s fill tube opening.
- Pour 8 oz vinegar slowly until liquid appears in the bucket (prevents airlocks).
- Clamp the line shut with a hemostat and wait 15 minutes—no longer, or vinegar damages seals.
- Release clamp and drain into bucket. Repeat with fresh vinegar until runoff runs clear.
Pressurized Flush for Stubborn Scale (20 Minutes)
- Fill a hand-pump sprayer with 1:1 vinegar-water mix.
- Attach the sprayer hose to the fridge’s inlet valve using the barbed adapter.
- Pump to 25 psi max (exceeding this cracks valves).
- Hold the dispenser paddle down for 30 seconds to cycle solution through ice maker.
- Depressurize sprayer before disconnecting to avoid vinegar spray.
Reconnect and Rinse to Eliminate Vinegar Aftertaste
One critical mistake DIYers make: skipping the full rinse cycle. Vinegar residue attracts new mineral deposits and ruins ice flavor for days.
Reassembly Protocol
- Reattach the supply line to the fridge inlet valve—tighten finger-tight plus ¼-turn only. Over-tightening cracks plastic fittings.
- Turn the water valve on slowly while watching connections.
- Dispense 1.5 gallons of water through the dispenser (≈ 24 cups). Discard all water—do not drink.
- Discard the first two full ice bins after production resumes—vinegar embeds in initial cubes.
Verify Success with Sensory Checks
- Taste test: Dispense 4 oz water after rinsing; it should taste neutral. Repeat rinse if acidic.
- Flow check: Time how long it takes to fill a 1-cup glass. Normal flow = 8–10 seconds.
- Leak watch: Place paper towels under connections; check after 24 hours for damp spots.
Fix Persistent Clogs in Under 10 Minutes

When vinegar alone fails, these targeted interventions resolve 95% of recurring issues without professional help.
Frozen Line Emergency Thaw
If the freezer compartment feels colder than -5°F, ice plugs form inside tubing. Turn off the refrigerator, open both doors, and place towels in the freezer to catch meltwater. Wait 4–6 hours—never use hair dryers, which melt tubing. Restart and test flow.
Compressed Air Line Clearance
- Disconnect the line at both ends.
- Apply low-pressure air (≤ 25 psi) in 3-second bursts toward the fridge.
- Catch expelled sludge in a towel. Never exceed 30 psi—this ruptures valves.
Prevent Future Clogs With This 3-Step Maintenance Plan
| Frequency | Action | Why It Matters |
|---|---|---|
| Every 3 months | Replace water filter | Prevents sediment from entering lines |
| Every 6 months | 5-minute vinegar flush | Stops scale before it hardens |
| Annually | Inspect line for kinks | Catches physical damage early |
Pro Tip: During summer months, taste-test dispenser water weekly. Humidity accelerates microbial growth—flush immediately if flavors change.
When to Call a Refrigerator Repair Technician
Seek professional help if:
– The ice maker makes no humming sound during fill cycles (failed solenoid valve).
– Water flows from the dispenser but ice maker remains inactive (internal line freeze).
– Clogs return within 2 weeks of a full flush with new filter and copper line.
– Your model is under warranty—DIY repairs may void coverage.
Bottom line: A 30-minute vinegar flush every six months prevents 90% of ice maker failures. By replacing vinyl tubing with copper and sticking to this simple maintenance rhythm, you’ll enjoy pure-tasting ice for your drinks and avoid $300+ service calls. Start today—your next glass of water shouldn’t taste like a science experiment.
